
Last updated November 17, 2026
 Shaker
 Modern flat-panel
 Two-tone cabinets
 KraftMaid
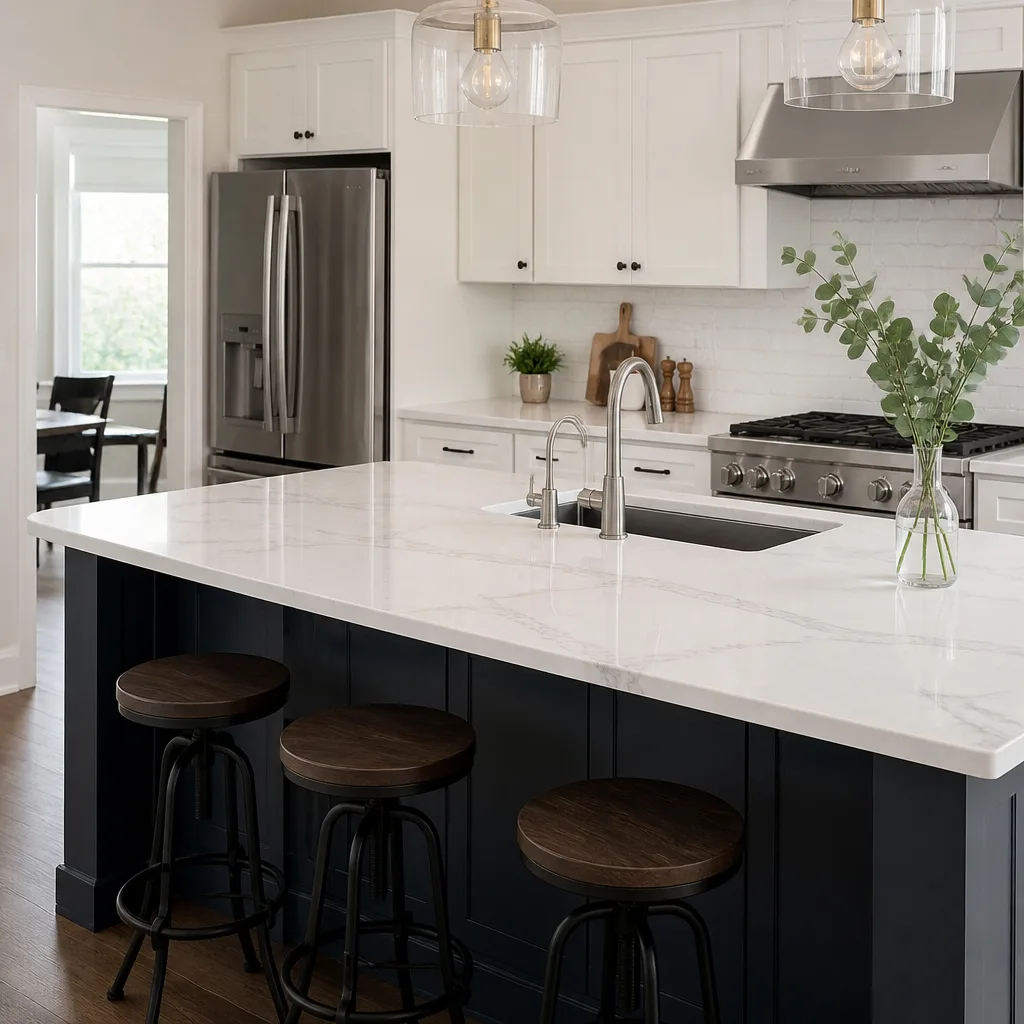 Cambria quartz
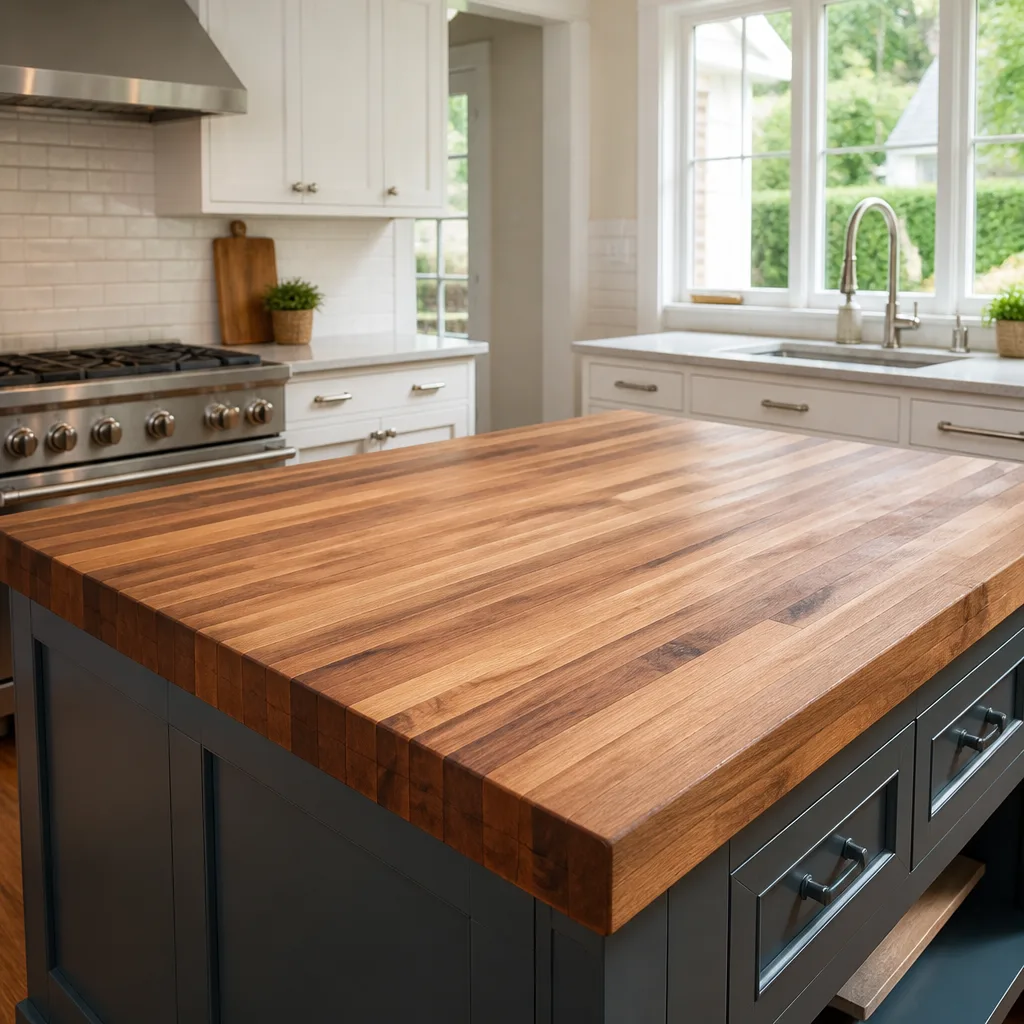 Butcher block
 Open shelving
Free design consultation - KraftMaid and Wellborn cabinet lines, Cambria and Silestone surfaces, and every tier from refacing to full custom laid out side by side
Kitchen Remodeling Troubleshooting in Henderson: Common Problems and How to Fix Them
That hairline crack running along your quartz backsplash seam probably isn’t a material defect. It’s almost always the substrate underneath, a slab set before the setting bed had time to cure, or a wall that moved because nobody gave it a chance to settle. In our experience the expensive part of kitchen troubleshooting in Henderson is guessing wrong: replacing a beautiful Silestone top when the real problem was a cabinet frame that wasn’t shimmed level, or rehanging doors when the fault lies with a hinge plate screwed into a humidity-swollen stile. This guide teaches you to diagnose the root cause before you spend a dollar on the symptom. You’ll learn how to test cabinet alignment, read countertop seams, spot hard-water damage on fixtures, and know when a fix belongs to you and when it belongs to the warranty.
Quick Answer
Most kitchen remodel problems in Henderson trace back to installation shortcuts, not bad materials. Cabinet doors that drift out of alignment usually come from improper humidity acclimation, countertop seam cracks from substrate movement or setting beds that cured too fast, and fixture finish failure from mineral-heavy water attacking parts without ceramic valves. Diagnosing the cause first tells you whether a fix is a five-minute adjustment, a warranty claim, or a callback to your installer.
Styles & brands we work with
- Shaker
- Modern flat-panel
- Two-tone cabinets
- KraftMaid
- Cambria quartz
- Butcher block
- Open shelving
Table of Contents
- Why Do Cabinet Doors Go Out of Alignment After Installation?
- How Does Henderson’s Hard Water Damage Kitchen Fixtures?
- Countertop Seam Separation vs. Substrate Movement: A Homeowner’s Checklist
- Why Grout Cracks at the Cabinet-to-Floor Transition
- The Humidity Acclimation Problem Nobody Warns You About
- DIY Patch or Warranty Callback? How to Decide and Document
- How Do You Choose a Kitchen Contractor in Henderson?
Why Do Cabinet Doors Go Out of Alignment After Installation?
Cabinet doors that drift, rub, or sit unevenly weeks after installation are usually the result of a humidity problem, not a hinge defect. If your doors were hung and adjusted while the wood was still adjusting to your home, they’ll move once the material settles. In a desert climate like Henderson’s, where interior relative humidity swings and dry air pulls moisture from wood, that settling can be significant.
Here’s how to test which problem you have. Open the door and look at the gap along the hinge side. If the gap is even at top and bottom but the door sags at the latch side, you’re looking at hinge adjustment, which is a quick fix. If the gap itself changes from top to bottom, the cabinet box or the door stile has moved, and adjusting the hinge won’t solve it for long.
The Acclimation Test
- Run a straightedge along the face frame of the cabinet box near the problem door.
- Check for a gap between the straightedge and the frame. A gap means the box is out of plane.
- Measure the door’s reveal, the gap between the door edge and the cabinet frame, at all four corners.
- If the reveal varies by more than about a sixteenth of an inch, the door or the box has moved since install.
When we install Wellborn cabinetry, we leave the material to acclimate to the room before final hanging and adjustment. Skipping that step is the most common reason a door that looked perfect on install day won’t close cleanly two months later. If your boxes are square and only the doors are off, a simple hinge adjustment with a screwdriver will usually do the job. If the frame is twisted, that’s a larger conversation with the installer.
How Does Henderson’s Hard Water Damage Kitchen Fixtures?
Henderson’s water is hard, averaging around 290 ppm of dissolved minerals, and that number matters for your kitchen fixtures. Mineral-rich water leaves deposits on every surface it touches. Over months and years, those deposits attack the finish on faucets and the internal parts that make them work. A faucet not rated for high-mineral water can pit, cloud, or fail internally long before its expected service life.
The single most useful thing to look for is a ceramic disc valve. Both Kohler and Moen build ceramic disc cartridges into many of their faucet lines, and ceramic holds up far better against mineral buildup than older rubber or plastic valve designs. Ceramic resists the mineral scaling that causes drips, stiffness, and cartridge failure. If you’re choosing a faucet for a Henderson kitchen, ask specifically about the valve type.
Signs of Hard-Water Damage to Watch For
- White crusting around the base of the faucet or on the spout aerator. That’s calcium and magnesium collecting where water dries.
- A stiff handle that takes more force to turn than it used to. Mineral buildup is fighting the cartridge.
- Cloudy or pitted finish on the metal itself, especially on lower-tier finishes.
- Reduced flow even when the aerator is clean, which points to internal scaling.
A simple routine helps: wipe the fixture dry after use and soak the aerator in white vinegar every few months to dissolve deposits. But the long-term answer is choosing fixtures built for hard water from the start. That’s one reason we standardize on Kohler and Moen for the kitchens we work on. A Blanco sink paired with a mineral-resistant faucet and a good filtration setup keeps the whole wet zone working longer in Henderson’s water.
Countertop Seam Separation vs. Substrate Movement: A Homeowner’s Checklist
A gap at a countertop seam doesn’t always mean the seam failed. Sometimes the slab is fine and what moved was the cabinet or the wall the counter sits on. Telling the two apart changes what gets fixed. If you replace the countertop when the real problem is a shifting cabinet base, the new seam will open too.
Stone and quartz countertops, including Cambria and Caesarstone, are heavy and rigid. They follow the substrate they’re set on. If that substrate flexes, sags, or wasn’t flat to begin with, the countertop will telegraph every bit of that movement at the seams and the edges.
Visual Checklist Before You Call
- Check the seam gap itself. A uniform hairline is normal. A widening wedge shape, wider at one end, points to movement.
- Look at the cabinet run below. Are the cabinet doors below the seam still lined up? Misaligned boxes under a separated seam usually mean the base moved.
- Press gently near the seam. Any flex or give in the countertop means the substrate isn’t solid. Stop pressing and call a professional.
- Check the backsplash. A crack between the countertop and the backsplash, or between tile joints, often follows movement in the wall or the setting bed.
- Note whether it’s seasonal. A seam that opens in dry months and closes in humid ones points to wood movement underneath.
Cambria is engineered quartz with very low porosity, so a stain or discoloration at a seam is almost never the material absorbing anything. It’s the adhesive or the edge profile. If your slab is set on a flat, solid substrate and installed with a proper setting bed, seams should hold for the life of the kitchen. When they don’t, the substrate or the cure time is the usual suspect.
Why Grout Cracks at the Cabinet-to-Floor Transition
Grout cracking where your kitchen floor meets the base of the cabinets is one of the most predictable failures in a remodel, and it’s almost always a missing expansion gap. Tile and grout need room to move. When the floor tile is grouted hard against a cabinet toe kick or baseboard, there’s nowhere for the normal expansion and contraction of the floor to go, so the grout cracks at its weakest point, which is that transition.
The fix is a flexible joint, not more grout. A bead of color-matched caulk or a sealant made for the joint allows movement without cracking. That’s why the tile setter should never be the last trade walking out the door. If the cabinets are installed after the tile, or adjusted after grouting, the joint gets stressed. Proper sequencing matters.
Proper Sequence for a Solid Floor-to-Cabinet Joint
- Floor tile is set and fully cured first.
- Cabinets are installed and shimmed level over the finished floor.
- A flexible sealant fills the perimeter joint, not rigid grout.
- The joint is inspected after cabinets settle, usually within the first weeks.
In Henderson’s dry climate, wood cabinets and tile floors expand and contract at different rates through the seasons. A rigid grout joint between them is destined to fail. If you’re seeing a crack there now, cleaning out the old grout and replacing it with a flexible sealant is a reasonable repair, though if the joint keeps reopening, the underlying issue is cabinet or floor movement that needs a closer look. Coordinating cabinets and finish work under one contractor, which is how we handle full-scope kitchen remodeling in Henderson, keeps this sequencing under one point of responsibility instead of two crews blaming each other.
The Humidity Acclimation Problem Nobody Warns You About
Wood moves. Cabinets, doors, trim, and framing all respond to the moisture in the air around them. Henderson’s climate runs dry, but interior humidity still shifts with the seasons and with how a home is heated and cooled. When cabinetry is brought into a space and installed immediately, without time to reach equilibrium with the room, it will move after installation. That movement shows up as doors that won’t align, gaps at joints, and drawer boxes that stick.
The 72-hour rule is a good guide: let wood products sit in the space where they’ll be installed long enough to adjust to the room’s humidity before final installation and adjustment. We build that waiting period into our schedule because it prevents most of the alignment callbacks we’d otherwise have to make. It isn’t glamorous, but it’s the difference between cabinets that stay true and cabinets that need constant fiddling.
What Acclimation Failure Looks Like
- Doors that were aligned on install day but rub within weeks.
- Drawer fronts that sit proud on one side.
- Gaps opening at the corners of face frames.
- Doors that stick in one season and swing free in another.
If your cabinets are showing these signs, check whether they were installed soon after delivery. A cabinet that was hung the day it arrived never had a chance to settle. In most cases the fix is straightforward: re-hang and re-adjust the affected doors once the material has reached equilibrium. If the boxes themselves are twisted, that’s a bigger discussion with the installer about whether the frame was square to begin with.
DIY Patch or Warranty Callback? How to Decide and Document
Some kitchen fixes are simple adjustments you can make with a screwdriver. Others are warranty issues that need documentation and a professional. Knowing which is which saves you time and protects your investment. The rule of thumb: if the fix requires adjusting hardware, cleaning a surface, or re-caulking a flexible joint, it’s usually a DIY patch. If it requires removing a countertop, rehanging a cabinet box, or replacing a component that failed under warranty, it’s a callback.
Documentation Steps for a Warranty Claim
- Photograph the problem from multiple angles, including a wide shot showing where it is in the kitchen and a close-up of the failure.
- Note the date you first noticed it and whether it’s changing over time.
- Save the paperwork for your cabinets, countertops, and fixtures. Wellborn and KraftMaid cabinetry carry manufacturer-backed limited lifetime warranties, and fixture brands like Kohler and Moen honor their own product warranties independently.
- Contact the installer with the photos and paperwork before attempting any repair that could void the warranty.
Quartz surfaces from Cambria, Silestone, and Caesarstone each carry their own manufacturer warranties, but those warranties generally cover the material, not the installation. That’s a key distinction. If a seam fails because the substrate moved, the material warranty won’t cover it; your installer’s workmanship is the relevant claim. This is exactly the gap a single-contractor kitchen scope closes. When the same company handles cabinets, surfaces, and fixtures, there’s no finger-pointing between trades over whose work caused the failure.
How Do You Choose a Kitchen Contractor in Henderson?
Choosing the right contractor prevents most of the problems this guide covers. The single biggest factor is scope: a contractor who handles cabinets, countertops, and fixtures under one roof has full control over the sequencing that keeps those components working together. When those three pieces come from three different companies, no one owns the handoffs between them.
Ask prospective contractors what brands they install and why. A kitchen specialist should be able to tell you the difference between a builder-grade cabinet and a Wellborn or KraftMaid line without hesitation. They should be able to compare Cambria, Silestone, and Caesarstone on material, finish, and thickness, not just hand you a sample and a price. And they should be able to explain how they coordinate cabinet installation with countertop templating and fixture rough-in so nothing gets installed out of order.
Questions Worth Asking
- Do you install the cabinets and the countertops, or subcontract one of them?
- What’s your acclimation process for cabinetry before installation?
- How do you sequence the tile, cabinet, and countertop work so joints don’t get stressed?
- What brands of fixtures do you install, and are they rated for hard water?
- Who handles a warranty claim if a seam or a door fails?
A kitchen-only contractor answers these from direct experience. A generalist juggling roofing and bathrooms alongside your kitchen may not. If you’re early in planning, our guide to cabinet installation in Henderson walks through the acclimation and alignment process in more detail, and the kitchen remodeling service page covers the full scope from design selection through installation.
Common Mistakes to Avoid
- Installing cabinets before the floor tile cures. Setting cabinets over fresh tile stresses the tile bed and the perimeter joint. Tile should be fully cured before cabinets go in, or the joint will crack.
- Skipping the acclimation period. Hanging cabinets the day they arrive leaves the wood no time to adjust to your home’s humidity. Doors and frames move afterward, and alignment fails.
- Grouting hard against the cabinets. Using rigid grout at the floor-to-cabinet transition instead of flexible sealant guarantees a crack. The joint needs room to move.
- Choosing fixtures without checking the valve type. In Henderson’s hard water, a faucet without a ceramic disc cartridge can scale up and fail early. Ask before you buy.
- Letting tile setters and cabinet installers work without coordination. When two trades don’t talk, the last one in undoes the first one’s work. One contractor owning the sequence prevents this.
- Filing a material warranty claim for an installation problem. A seam that separates because the substrate moved isn’t a material defect. Misdiagnosing it wastes time and may get the claim denied.
- Ignoring a widening seam. A hairline is normal. A wedge-shaped gap that grows means something underneath is moving and needs a professional look before the slab is damaged.
See the difference
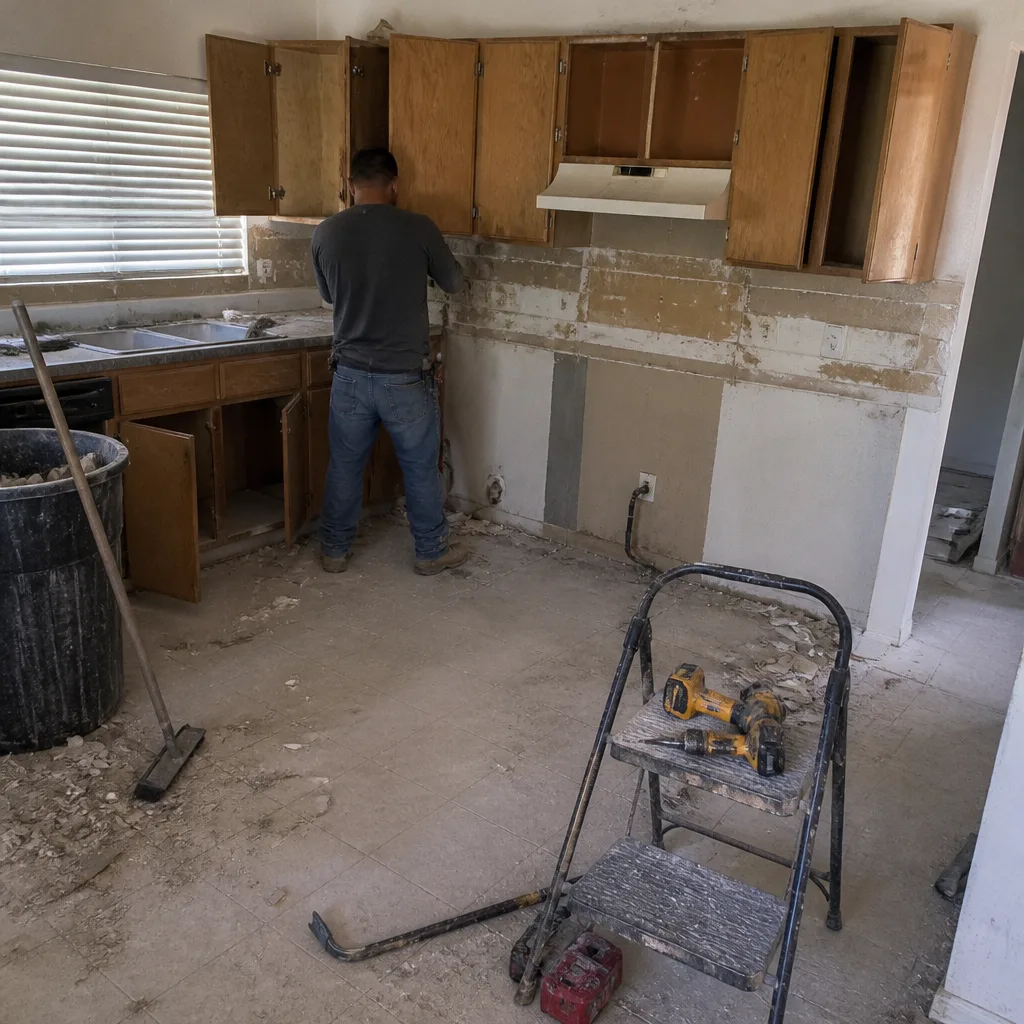 Before
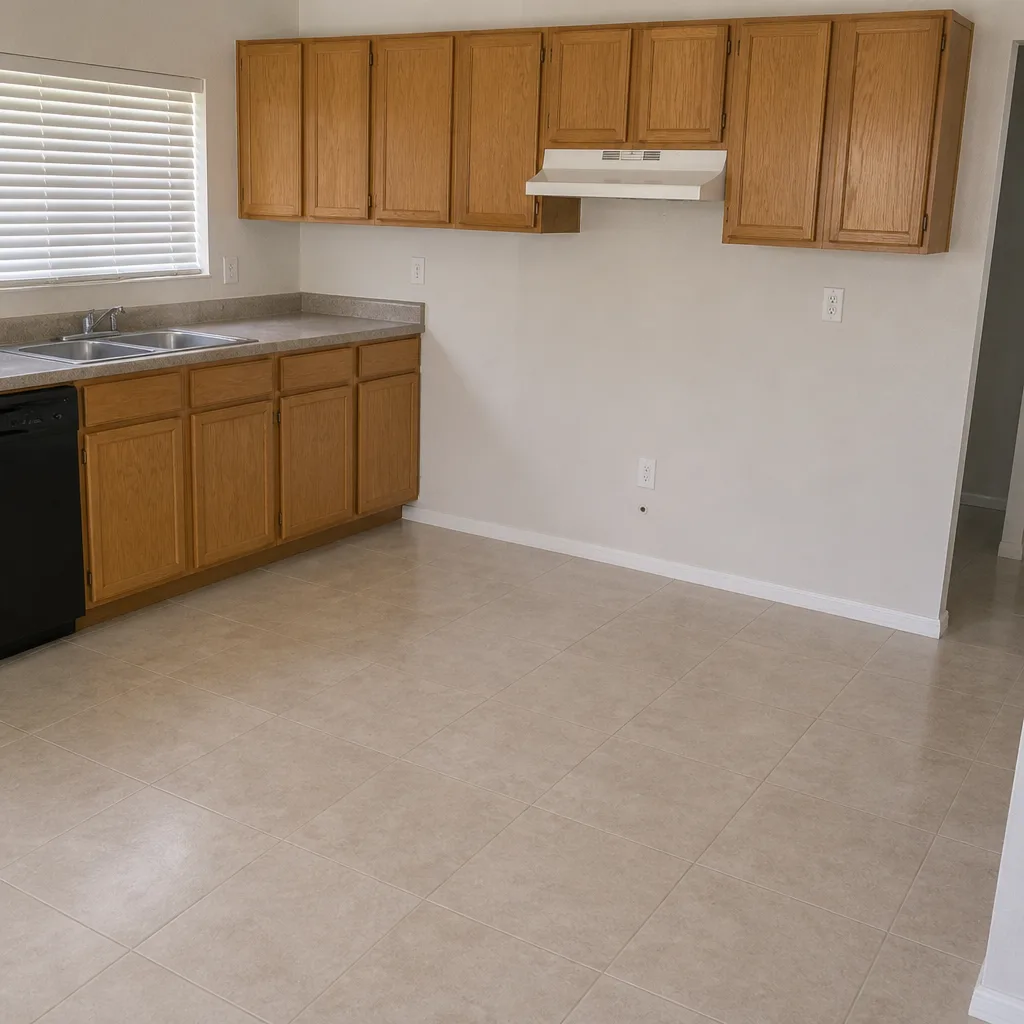 After
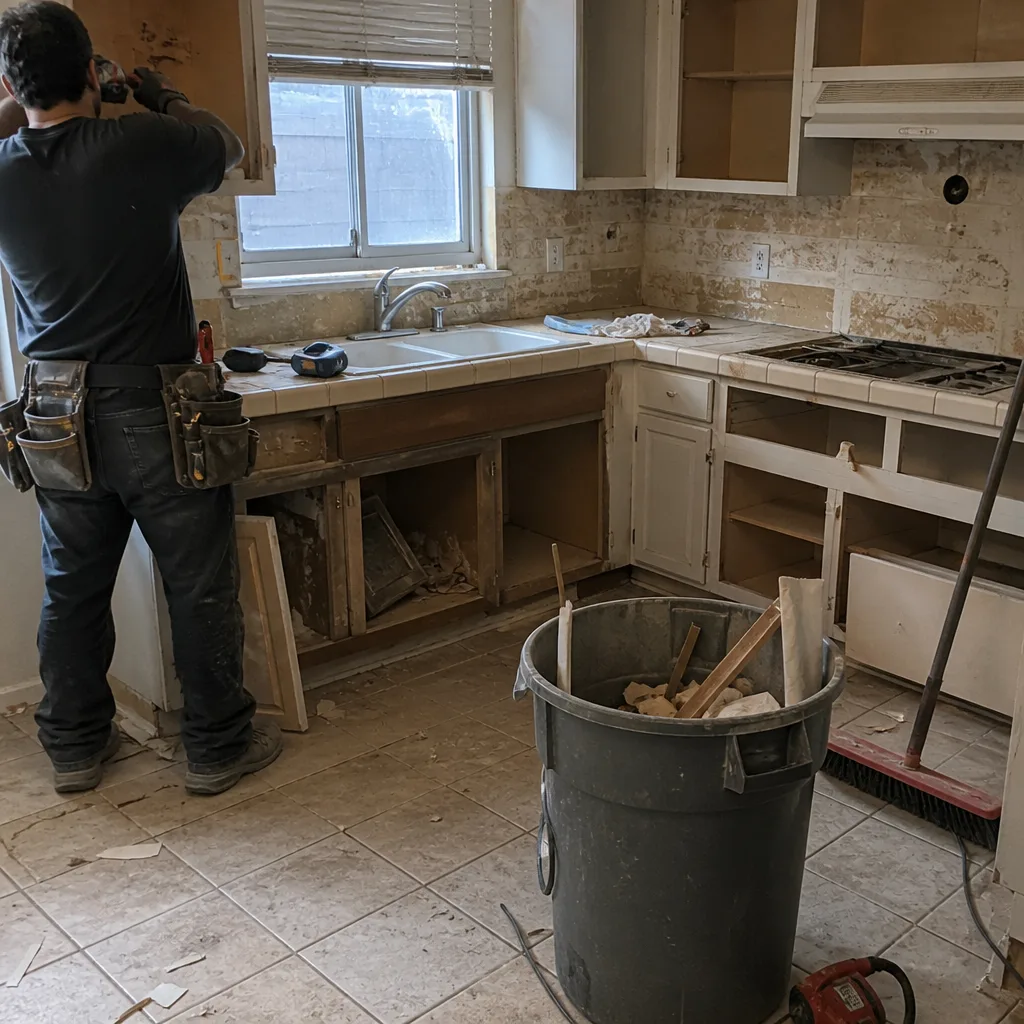 Before
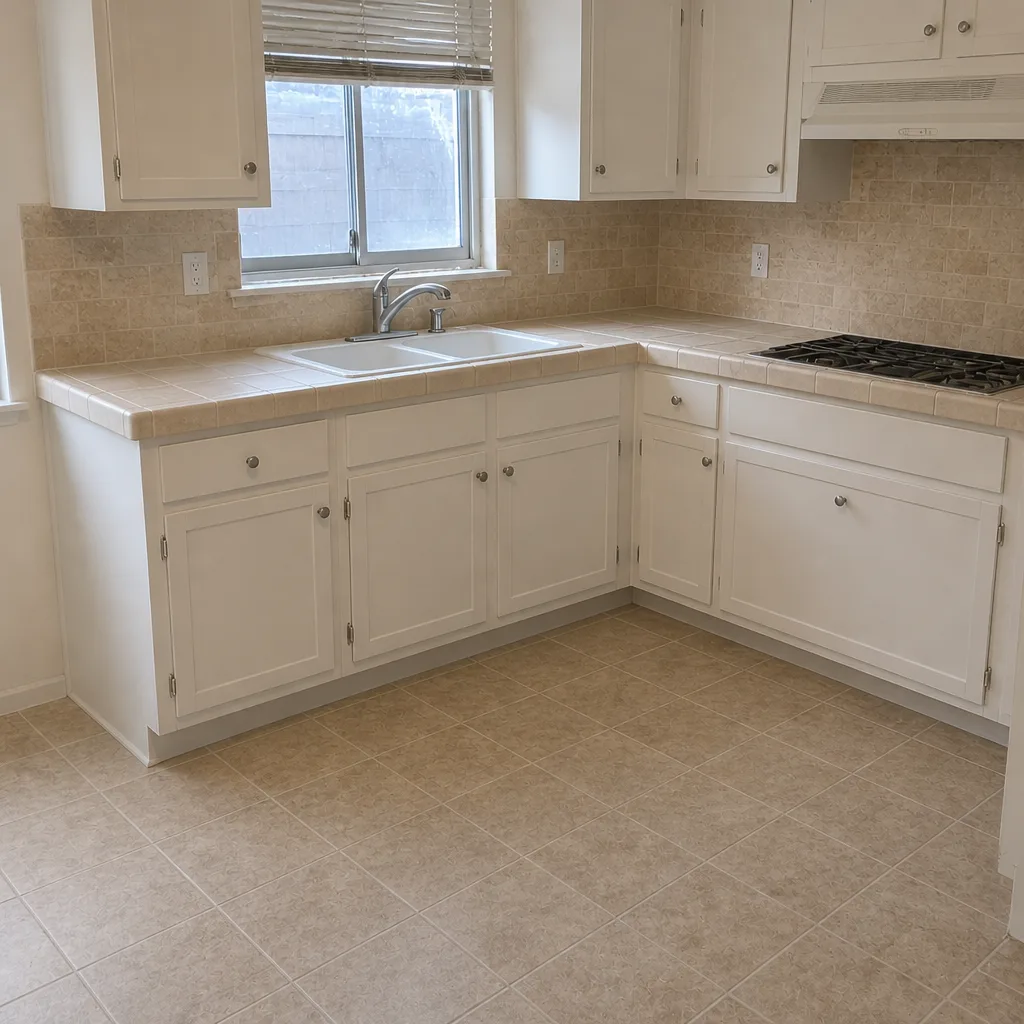 After
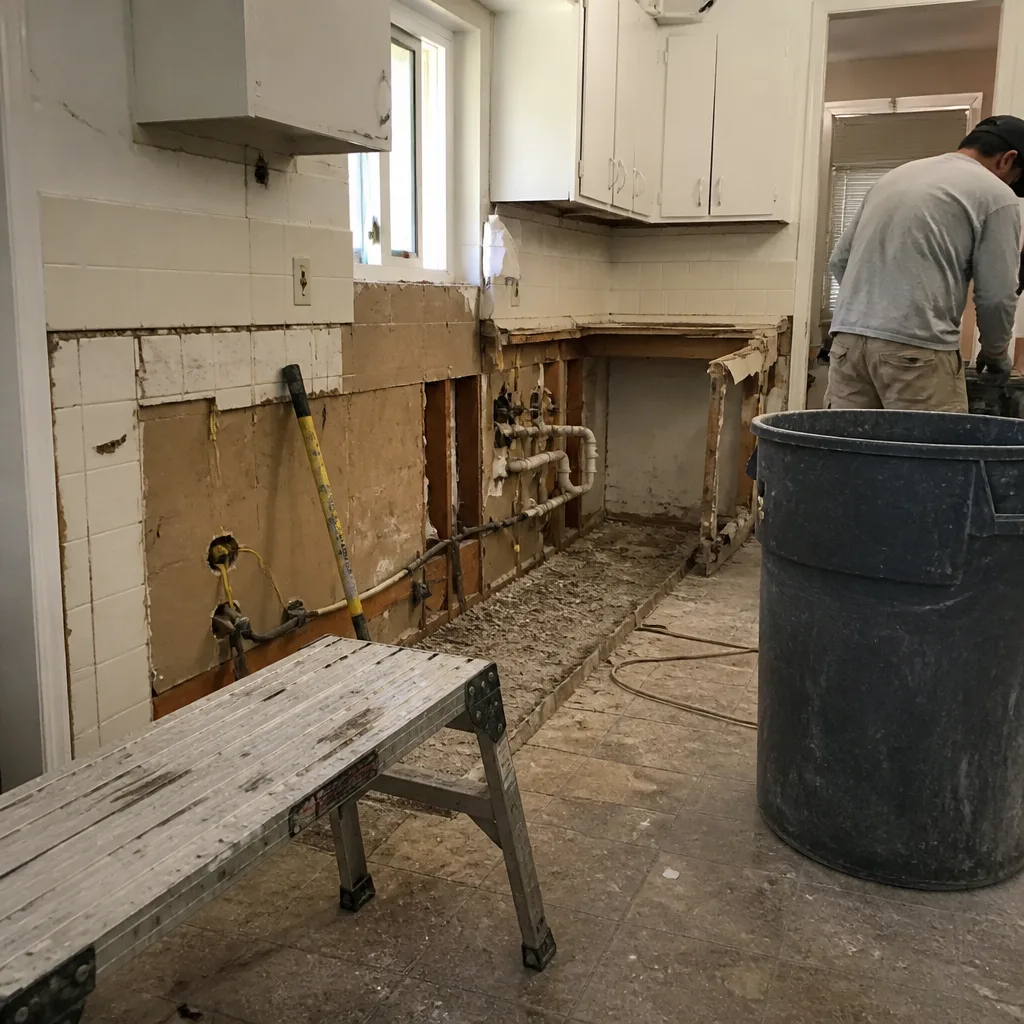 Before
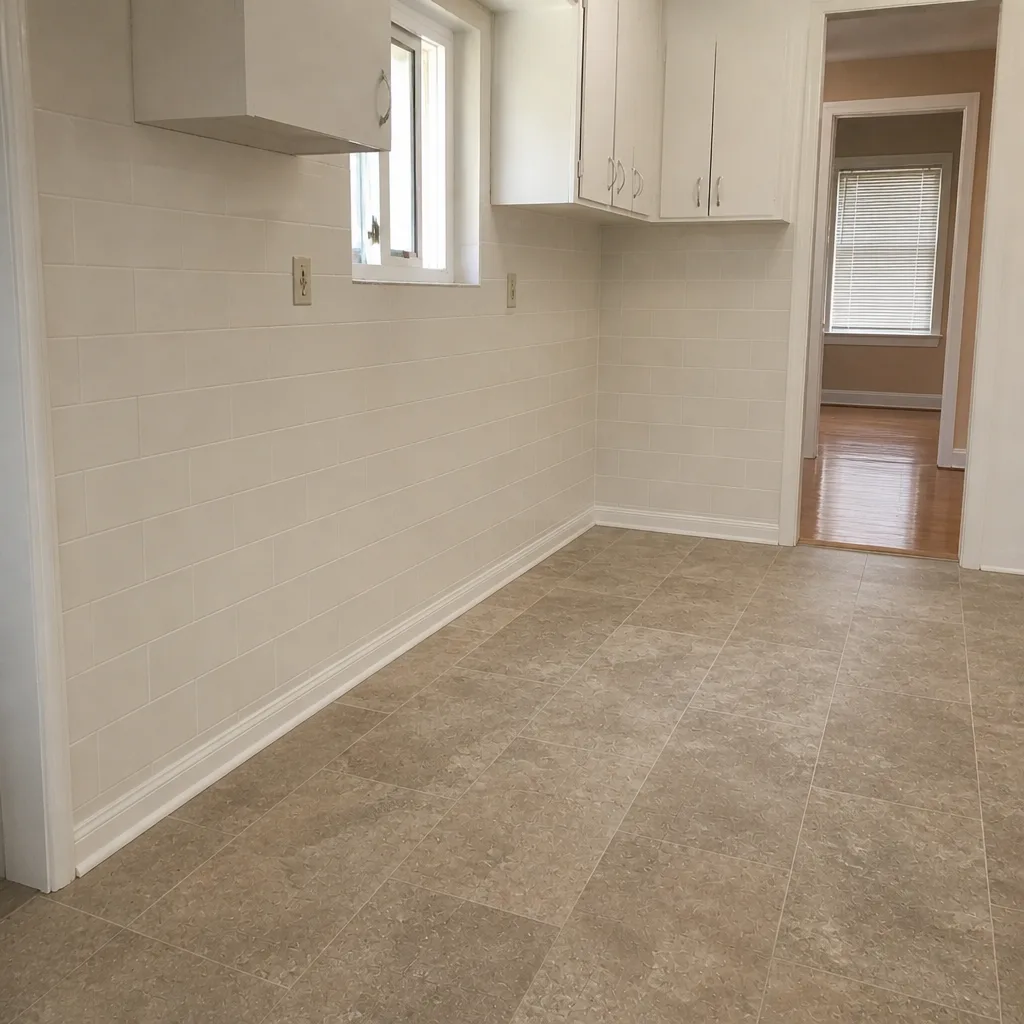 After
When to Call a Professional
Some problems genuinely need a trained eye and a warranty conversation. Call a professional if a countertop seam is widening over time, if a cabinet box is twisted rather than a door simply out of adjustment, if a fixture has failed internally under warranty, or if the floor-to-cabinet joint keeps reopening after you’ve resealed it. These are signs the underlying installation or substrate needs attention, not a patch. Never try to lift or reposition a stone or quartz countertop yourself; they’re heavy and brittle, and a dropped slab is a serious injury risk and a total loss.
Our technicians have up to 14 years of experience diagnosing exactly these failures. Kitchen Remodeling Henderson offers free estimates in Henderson. Call (888) 397-6875. We answer 24/7. Fast dispatch from 7am to 7pm, Sunday through Friday. Every job comes with a written line-item quote, so you know what the fix involves before anyone starts.
Frequently Asked Questions
Cabinet doors that drift out of alignment shortly after installation are almost always a humidity acclimation issue, not a hinge defect. If the cabinetry wasn’t given time to adjust to the room’s moisture before final hanging, the wood moves afterward and the doors shift. Check whether the gap between door and frame varies from top to bottom; if it does, the door or box has moved. Call (888) 397-6875 for a free estimate if you’re not sure which it is.
Usually not. A cracked or separating countertop seam is most often caused by substrate movement or a setting bed that didn’t cure properly, not by a defect in the quartz itself. Cambria, Silestone, and Caesarstone are durable engineered surfaces; the failure tends to live underneath or at the adhesive. Photograph the gap and check whether it’s widening before calling. Call (888) 397-6875 for a free estimate.
Henderson’s water averages around 290 ppm of minerals, which leaves deposits on fixtures and can pit finishes and stiffen valves over time. Faucets with ceramic disc cartridges, which both Kohler and Moen build into many lines, resist mineral buildup far better than older valve designs. Wipe fixtures dry and soak the aerator in vinegar periodically to slow the damage. Call (888) 397-6875 for a free estimate on a fixture upgrade.
Grout cracks at the cabinet-to-floor transition because there’s no expansion gap for the floor to move. Tile and grout need room to expand and contract, and grouting hard against a cabinet toe kick leaves nowhere for that movement to go. The fix is a flexible sealant at the joint, not more grout. If it keeps reopening, the cabinets or floor may be moving. Call (888) 397-6875 for a free estimate.
Adjusting a hinge, re-caulking a joint, or cleaning a surface is reasonable to do yourself. Anything involving the countertop, a twisted cabinet box, or a component that failed under warranty should go to the contractor with photos and paperwork. Attempting a repair that voids a manufacturer warranty costs more than the callback. Call (888) 397-6875 for a free estimate on a professional fix.
Because most kitchen failures happen at the handoffs between trades. When the cabinet installer, the countertop fabricator, and the plumber are three different companies, no one owns the sequencing, and a seam or a joint can fail with each side blaming the other. One contractor handling all three from Henderson keeps acclimation, templating, and rough-in on one schedule. Call (888) 397-6875 for a free estimate.
The Bottom Line
Most kitchen problems in Henderson trace back to how the work was installed, not to the brands on the label. Cabinet doors that drift point to humidity acclimation failures. Countertop seams that separate point to substrate movement and setting beds that cured too fast. Fixture finish failure points to hard water and the valve design inside. Knowing which cause you’re looking at tells you whether the fix is a five-minute adjustment, a flexible joint, or a warranty claim. Diagnose first, document carefully, and choose a contractor who keeps the full kitchen scope under one point of accountability. That’s how a well-built kitchen stays right.
Written by the team at Kitchen Remodeling Henderson.