
Last updated November 17, 2026
 Shaker
 Modern flat-panel
 Two-tone cabinets
 KraftMaid
 Cambria quartz
 Butcher block
 Open shelving
Free design consultation - KraftMaid and Wellborn cabinet lines, Cambria and Silestone surfaces, and every tier from refacing to full custom laid out side by side
Kitchen Remodeling Maintenance Checklist for Henderson Homeowners
What damages a quartz countertop isn’t the knife you drop on it. It’s the spray bottle under the sink. Cambria’s own care guide lists several common cleaning products as prohibited, including some labeled “natural” that sell well in Henderson grocery stores. Use them and you can lose the surface warranty on a countertop you paid thousands for. The same pattern holds across every material in your kitchen: KraftMaid cabinet finishes, Kohler faucet aerators, Wellborn door fronts, Silestone slabs. Each has a protocol. This guide organizes those protocols by material and manufacturer instead of vague seasonal chores, and it’s written for Henderson’s hard water and dry desert air, which stress kitchens in ways a national checklist never mentions.
Quick Answer
Maintain a remodeled Henderson kitchen by matching care to the specific material and brand: pH-neutral cleaner on Cambria and Silestone surfaces, monthly descaling of Kohler and Moen aerators in the valley’s hard water, finish-specific cleaning on painted versus veneer cabinet doors, and an annual caulk and grout inspection around tile backsplash and undermount sinks. Add disposal, dishwasher, and hood service on manufacturer intervals to protect the cabinetry from moisture and heat. Skip these and both wear and warranty coverage suffer.
Styles & brands we work with
- Shaker
- Modern flat-panel
- Two-tone cabinets
- KraftMaid
- Cambria quartz
- Butcher block
- Open shelving
Table of Contents
- Caring for Quartz Surfaces: Cambria and Silestone Protocols
- Hard Water and Your Kohler and Moen Fixtures
- KraftMaid and Wellborn Cabinet Finish Care
- Annual Caulk and Grout Inspection Around Sinks and Backsplash
- Disposal, Dishwasher, and Vent Hood Intervals
- Low Humidity and Seasonal Cabinet Movement
- Your Monthly and Yearly Maintenance Routine
Caring for Quartz Surfaces: Cambria and Silestone Protocols
Engineered quartz is non-porous, which fools a lot of homeowners into thinking it’s indestructible. It resists stains and bacteria well, but its binder resin reacts to certain chemicals, and that reaction is what actually voids coverage. Cambria’s care documentation is specific about what not to use, and Silestone publishes its own list. Both come down to the same rule: pH-neutral, non-abrasive, no shortcuts.
What damages quartz surfaces, in order of how often it happens:
- Citrus and acidic cleaners. Lemon, orange, and vinegar-based sprays dull the finish over repeated use and can etch the resin. Several “natural” all-purpose cleaners rely on citric acid as the active ingredient.
- Bleach at strong dilution. A mild bleach solution is sometimes acceptable for stain removal per manufacturer guidance, but concentrated bleach left to sit attacks the surface. Never soak.
- Abrasive pads and powders. Scouring cream and steel wool scratch the polish. Use a soft cloth or non-scratch pad.
- Oven cleaner and acetone. Both are on prohibited lists. Keep them off the counter entirely, including overspray from a nearby oven cleaning.
- Heat shock. A hot pan straight off the stove or a slow cooker running all day can crack or discolor quartz. Use a trivet.
Daily care is simple: warm water, a drop of mild dish soap, a microfiber cloth. For a deeper clean, use a cleaner the manufacturer names as approved. If you’re comparing options before you buy, it helps to know that Cambria, Silestone, and Caesarstone each publish slightly different care sheets, and choosing your surface from premium lines means you get a documented protocol rather than guesswork. When we install countertops through our kitchen remodeling work, we hand over the care sheet for the exact slab you selected so the rules travel with the material.
Quartz stain removal, in order of gentleness
- Wipe with warm water and mild soap. Let it sit a minute, then rinse.
- For a stubborn mark, apply a paste of baking soda and water, cover with plastic wrap, and leave it briefly, then rinse thoroughly.
- If it persists, contact the manufacturer or your installer before trying anything stronger. Guessing is how warranties get voided.
Hard Water and Your Kohler and Moen Fixtures
Henderson’s municipal water runs hard, and that hardness is the single biggest driver of fixture maintenance in the valley. Every gallon carries dissolved calcium and magnesium that precipitates out as scale wherever water sits or dries: aerator screens, faucet spouts, sprayer heads, the base of a Kohler or Moen pull-down. Ignore it and your flow drops, the finish dulls, and the cartridge inside starts to bind from mineral buildup.
Manufacturer guidance and real-world experience mostly agree here. Kohler and Moen both recommend periodic removal and soaking of the aerator in a mild vinegar solution, followed by a rinse and a soft-bristle scrub. Where local experience adds something: in a high-hardness supply, that means every four to six weeks, not the twice-a-year schedule a national care card implies. Scale you can see on an aerator is scale building inside the valve body too.
Fixture maintenance routine that actually works here
- Unscrew the aerator by hand. If it’s seized, wrap it in a cloth and use pliers gently rather than forcing it.
- Soak the aerator in a 50/50 white vinegar and water solution for about an hour.
- Scrub the screen with an old toothbrush, rinse, and reinstall.
- Wipe the faucet body and handle weekly with a damp cloth and dry it. Standing water spots are the beginning of scale.
- Once a year, check the spout and sprayer for restricted flow. A weak spray usually means a clogged screen, not a failed fixture.
Fixture brand matters for this. Kohler and Moen both build parts availability into their lines, which means an aerator or cartridge can be replaced instead of the whole faucet. When we spec fixtures alongside cabinets and countertops through our cabinet installation projects, we choose from lines with serviceable parts for exactly this reason: in Henderson water, a fixture you can maintain outlasts one you can’t.
KraftMaid and Wellborn Cabinet Finish Care
The most common cabinet mistake is treating every door the same. A painted MDF door and a wood-veneer door have different surfaces and need different cleaning. KraftMaid and Wellborn both publish finish-specific care, and the two methods diverge. Get this wrong and you either scratch a veneer or dull a painted finish.
Painted cabinet doors
Painted doors, often MDF-core, are durable but can be dulled by harsh cleaners and scratched by abrasives. Wipe with a soft damp cloth and a mild soap solution, then dry. Avoid anything labeled “heavy duty,” degreaser-strength, or containing ammonia in high concentration. Don’t scrub a stain; blot it. Grease that’s baked onto a door above the range is a sign your hood isn’t doing its job, which we cover below.
Wood-veneer and stained cabinet doors
Veneer is a thin layer of real wood over a core, and its finish is more sensitive to moisture sitting on the surface. Use a barely damp cloth, not a wet one, and dry immediately. Never let water pool at the bottom edge of a door or in the corners of a panel. A quality furniture polish formulated for the finish, used sparingly, keeps the sheen. Avoid wax build-up and silicone-based products that can make future refinishing difficult.
Both brands build their finishes to a manufacturer standard, and both stand behind them with limited lifetime warranties that have care conditions attached. Keep the care sheet. A warranty claim goes a lot smoother when you can show you followed the recommended method. If you want to know exactly which KraftMaid or Wellborn finish you have before you start cleaning, we’re glad to help identify it, because the method follows the finish.
Annual Caulk and Grout Inspection Around Sinks and Backsplash
Water intrusion doesn’t announce itself. It seeps behind a backsplash, under an undermount sink lip, or into a hairline grout crack, and it quietly damages the substrate your cabinetry and countertop sit on. In a kitchen with a tile backsplash near a Blanco or undermount sink, those junctions are the highest-risk points, and an annual inspection catches problems while they’re still cosmetic.
Annual inspection protocol
- Walk the entire backsplash and every countertop-to-wall seam with a flashlight. Look for cracked, shrinking, or lifting caulk and dark or crumbling grout.
- Run your finger along the sink rim where it meets the counter. Any give, gap, or soft caulk means water has been getting behind it.
- Check inside the sink cabinet with a flashlight for staining, swelling, or a musty smell on the cabinet floor. That’s the first real sign of a leak.
- Test grout by pressing a key lightly along the lines. Crumbly grout needs attention; intact grout shouldn’t budge.
- Re-caulk any failed seam with a kitchen-rated silicone or siliconized caulk, not painter’s caulk. Clean and dry the joint fully first.
Re-caulking is a job you can do yourself, and there’s no harm in it. The line is structural: if you find soft substrate, recurring leaks after re-caulking, or water damage in the cabinet base, that’s beyond a bead of silicone. In Henderson’s dry climate, caulk can also shrink and crack faster on the sun-facing side of a kitchen, so inspect that wall first.
Disposal, Dishwasher, and Vent Hood Intervals
The appliances you can’t see protect the cabinetry you can. A leaky dishwasher rots the cabinet run beside it. A clogged disposal backs water into the sink base. A grease-clogged hood dumps cooking vapor onto the doors above the range and shortens the life of every finish in the kitchen. These are skipped in most generic checklists because you don’t see them, which is exactly why they matter.
- Disposal: Run cold water while grinding and for a few seconds after. Periodically grind ice cubes and a cut lemon (then rinse well) to clear residue and odor. Never put fibrous vegetables, grease, or coffee grounds down it.
- Dishwasher: Clean the filter monthly. Wipe the door gasket and check it for cracks quarterly. Run a cleaning cycle with a dishwasher cleaner every few months, and check under the sink for dampness at the same time.
- Vent hood: Wash the grease filter monthly if you cook often. Degrease the hood exterior with a finish-safe cleaner that won’t harm your cabinetry. Have the ductwork inspected periodically if the hood seems weak.
The connection back to your materials is direct. A hood that under-performs leaves cooking grease on painted and veneer cabinet doors above the range, and that’s the hardest kind of soil to remove without risking the finish. Keep the hood working and your cabinets stay cleaner and keep their sheen longer.
Low Humidity and Seasonal Cabinet Movement
Henderson is dry, and desert dryness moves wood. Solid wood and veneer doors expand and contract with humidity swings over the year, and a door that aligns perfectly in a humid month can stick or gap in a dry one. This isn’t a defect; it’s normal behavior, and knowing it prevents a lot of unnecessary worry and unnecessary “adjustments” that make things worse.
What to watch for
- Doors that drag or rub at one corner. Often an adjustment to the hinge, not a structural problem.
- Small gaps at cabinet seams that open and close with the seasons.
- Drawers that bind in summer and loosen in winter.
- Cracks along the edge of a painted door. Not always a flaw; sometimes just seasonal movement showing at a joint.
However, some things are not normal movement and shouldn’t be dismissed: doors that warp and stay warped, delamination at a veneer edge, or finish peeling away from the panel. Those are warranty territory. KraftMaid and Wellborn both build and warrant their cabinets to defined standards; a documented, consistent problem is worth a call, and the manufacturer’s process begins with identifying the finish and the issue precisely.
Keeping interior humidity steady with a whole-home humidistat helps, and avoiding direct heat or sun on a cabinet door reduces the swing. Henderson homes that run the AC hard in summer and the heat in winter experience more movement than a coastal home would, so a little awareness goes a long way.
Your Monthly and Yearly Maintenance Routine
Here’s the whole guide consolidated into a schedule. Adjust the frequency up if your water is especially hard or you cook a lot, and keep the care sheets for your Cambria or Silestone surface, your KraftMaid or Wellborn cabinets, and your Kohler or Moen fixtures in one folder so you can find the approved products in seconds.
Monthly
- Wipe quartz counters with mild soap and water; dry the surface.
- Remove and soak faucet aerators in a vinegar solution; rinse and reinstall.
- Clean the dishwasher filter and wipe the door gasket.
- Wash the range hood grease filter.
- Wipe cabinet doors with the finish-specific method; blot stains, don’t scrub.
Annually
- Full caulk and grout inspection around the backsplash and sink; re-caulk any failed seams.
- Check inside the sink cabinet for moisture, staining, or mustiness.
- Inspect cabinet doors and drawers for consistent warping, delamination, or finish failure; document anything that looks like a manufacturing issue.
- Review appliance and fixture documentation for any interval you may have missed.
Common Mistakes to Avoid
- Using a “natural” citrus cleaner on quartz. Citric acid is on many prohibited lists for Cambria and Silestone. “Natural” doesn’t mean finish-safe.
- Ignoring hard water until the faucet drips weakly. By then scale is inside the valve body, not just the aerator. In Henderson’s water, treat descaling as routine.
- Cleaning painted and veneer doors the same way. A method that’s fine for one finish can dull or damage the other. Match the product to the door.
- Skipping the annual caulk inspection because nothing looks wrong. Water intrusion is invisible until it isn’t. The flashlight walk takes ten minutes.
- Letting the hood filter clog. Grease that bakes onto cabinets above the range is the hardest stain to remove without risking the finish.
- Treating every seasonal door gap as a defect. Henderson’s dry air moves wood. Distinguish normal movement from genuine warping and delamination before you start adjusting hinges.
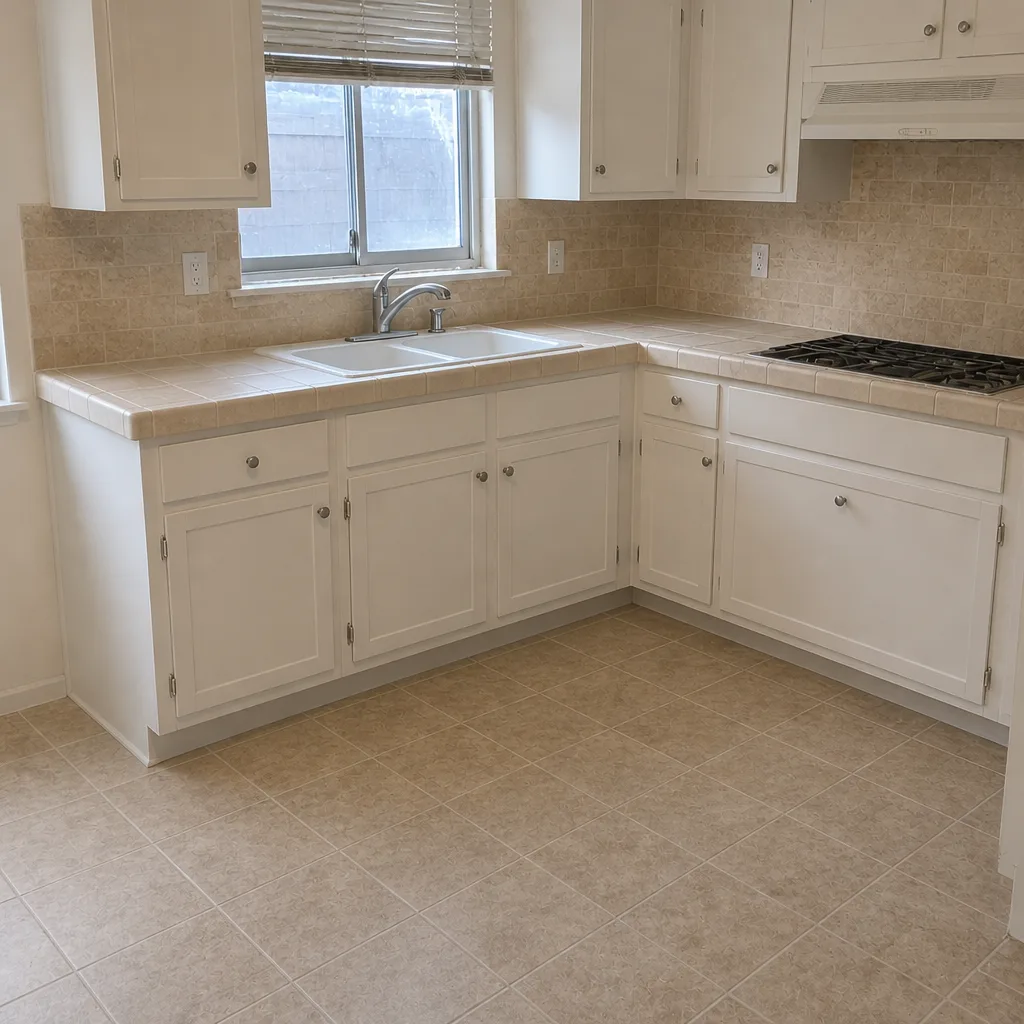
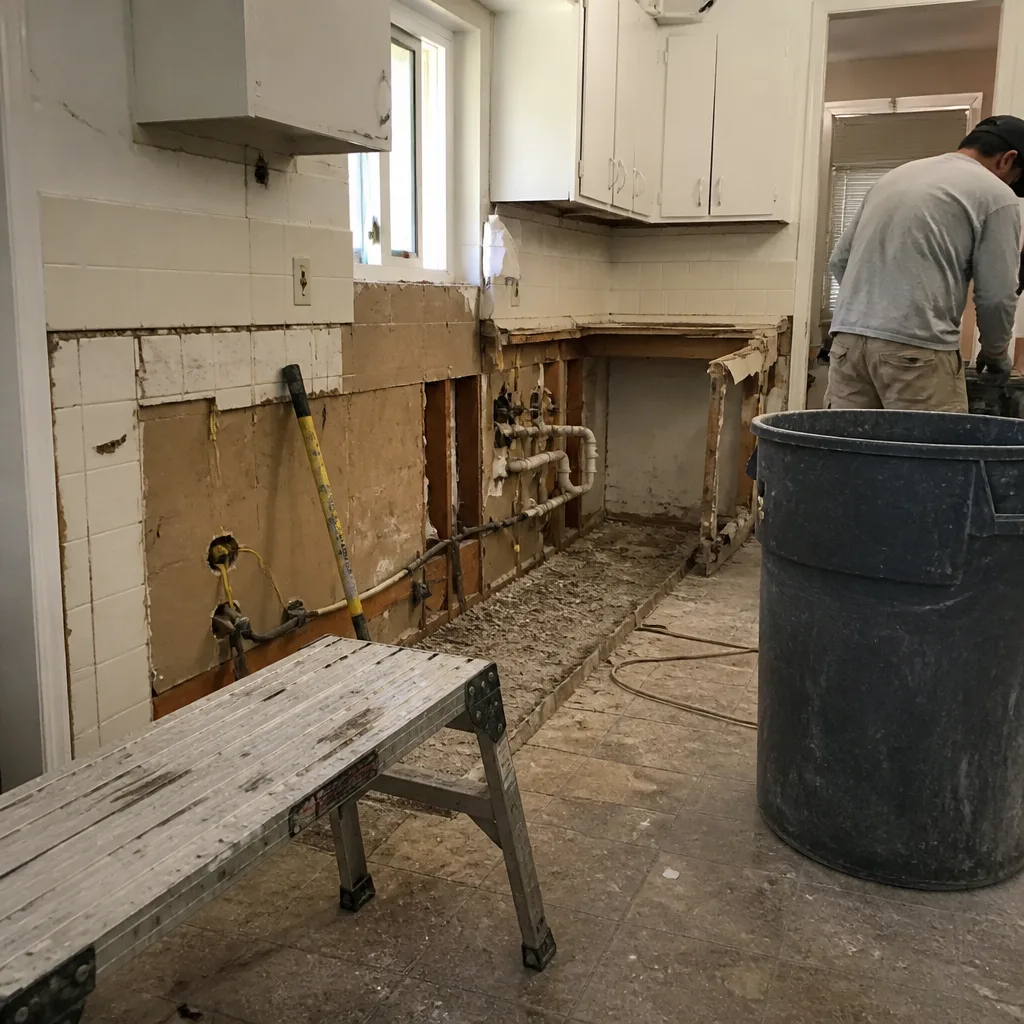
See the difference
 Before
 After
 Before
 After
 Before
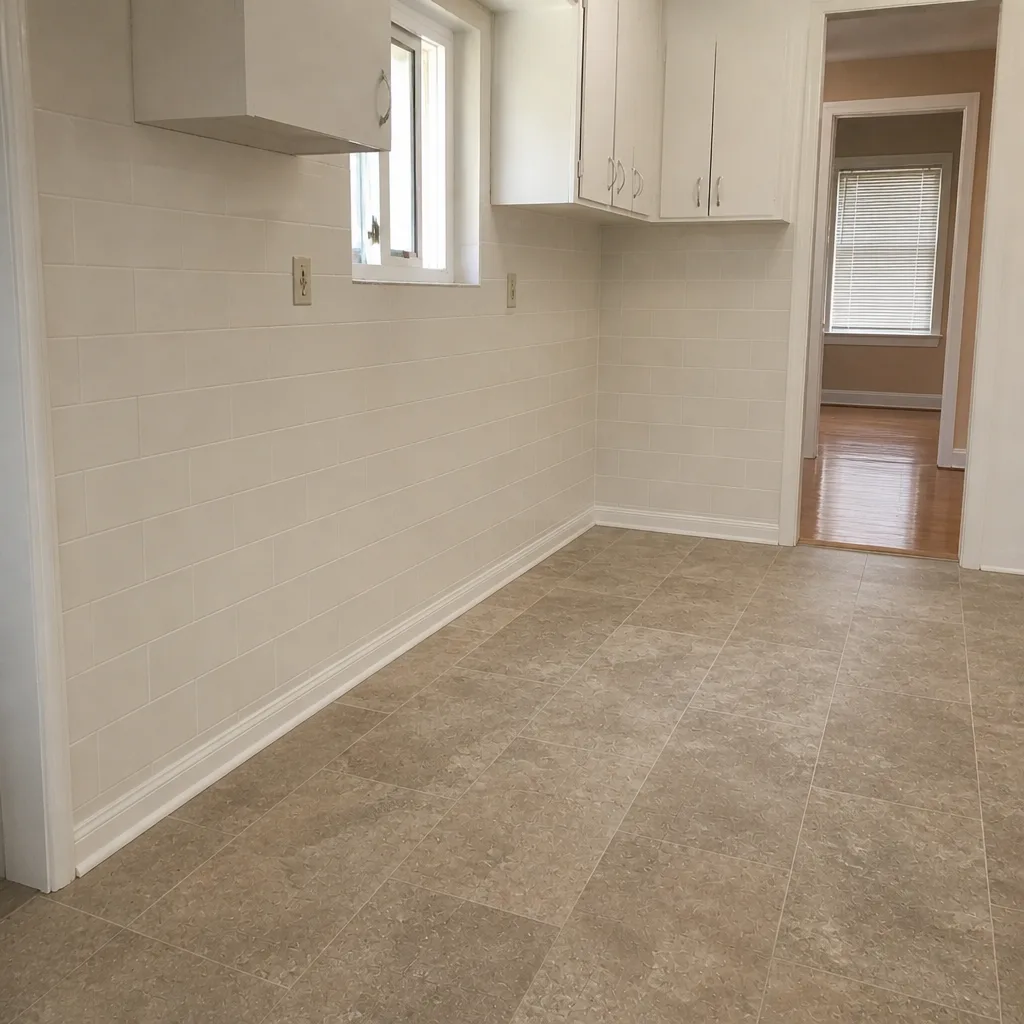 After
When to Call a Professional
Most of this checklist is homeowner work. But some problems need a pro. Call us when cabinets have warped and stayed warped, when veneer is delaminating, or when a finish is failing in a way that points to a manufacturing issue worth a warranty claim. Call when a dishwasher or disposal leak has reached the cabinet base and you suspect water damage. Call when a backsplash or countertop seam keeps reopening after you’ve re-caulked it, or when a countertop has cracked or been etched by a chemical and you need to know if it can be repaired or replaced. These are not jobs to improvise, and quartz refinishing or counter replacement is a decision worth expert input. Kitchen Remodeling Henderson offers free estimates in Henderson. Call (888) 397-6875. We answer 24/7. Fast dispatch from 7am to 7pm, Sunday through Friday.
Frequently Asked Questions
Use warm water, a drop of mild dish soap, and a soft microfiber cloth, or a cleaner Cambria lists as approved. Skip citrus-based, vinegar, bleach-heavy, and abrasive products; those are what void coverage and dull the finish. Call (888) 397-6875 if you’re unsure which cleaner is safe for your slab.
Every four to six weeks in Henderson’s hard water, rather than the twice-a-year schedule a national care card suggests. Soak it in a 50/50 vinegar and water solution for about an hour, scrub, and reinstall. Call us for help if flow stays weak after cleaning.
Wood and veneer move with humidity, and Henderson’s dry air swings hard between the seasons. Small gaps and minor binding are usually normal movement, adjustable at the hinge. Warping or delamination that doesn’t reverse is a warranty issue worth documenting. Call (888) 397-6875 for an assessment.
Once a year, with a flashlight, checking every seam and looking inside the sink cabinet for moisture. Re-caulk any failed joint with kitchen-rated silicone. Call us if a seam keeps reopening after re-caulking or you find water damage.
Match the method to the finish. Painted doors want a soft damp cloth and mild soap, then a dry. Wood-veneer doors want a barely damp cloth and immediate drying, plus a finish-appropriate polish used sparingly. Keep the care sheet for warranty purposes.
Yes, in most cases, especially with Kohler and Moen lines that use serviceable parts and standard mounting. It becomes a countertop question only if the old fixture or the cutout is damaged. Call (888) 397-6875 for a free estimate before you commit.
The Bottom Line
Your remodeled kitchen will last longest when you maintain it by material and manufacturer, not by vague seasonal chores. pH-neutral care keeps Cambria and Silestone surfaces under warranty, regular descaling keeps Kohler and Moen fixtures flowing in Henderson’s hard water, finish-specific cleaning protects KraftMaid and Wellborn doors, and an annual caulk inspection catches water intrusion before it reaches the cabinet base. Keep the care sheets, run the appliance intervals, and watch for the difference between normal seasonal movement and a real defect. That approach outperforms any generic checklist. When something crosses the line into professional work, call us for a free estimate. Call (888) 397-6875. We answer 24/7. Fast dispatch from 7am to 7pm, Sunday through Friday.
Written by the team at Kitchen Remodeling Henderson.